Draining your water heater is one of those overlooked home maintenance tasks that can make a big difference in how efficiently your system runs. Over time, sediment and mineral build-up accumulate at the bottom of the tank, which can lead to reduced heating efficiency, higher energy bills, and even premature failure. To keep your heater performing well, experts recommend draining and flushing it at least once every six to twelve months, depending on your water’s hardness. Doing it properly ensures safety, cleanliness, and longevity. Here’s how to drain your water heater the right way, step by step.
1. Turn Off Power or Gas Supply
Before you begin, safety is the first priority. If your water heater is electric, switch off the power at the circuit breaker to prevent any electrical hazards. For gas heaters, turn the thermostat to “Pilot” or shut off the gas valve entirely. This prevents the burner from igniting while you’re draining. Allow the water inside the tank to cool for at least an hour to avoid scalding when you start working. Taking this precaution not only keeps you safe but also protects the heating element from damage caused by draining hot water.
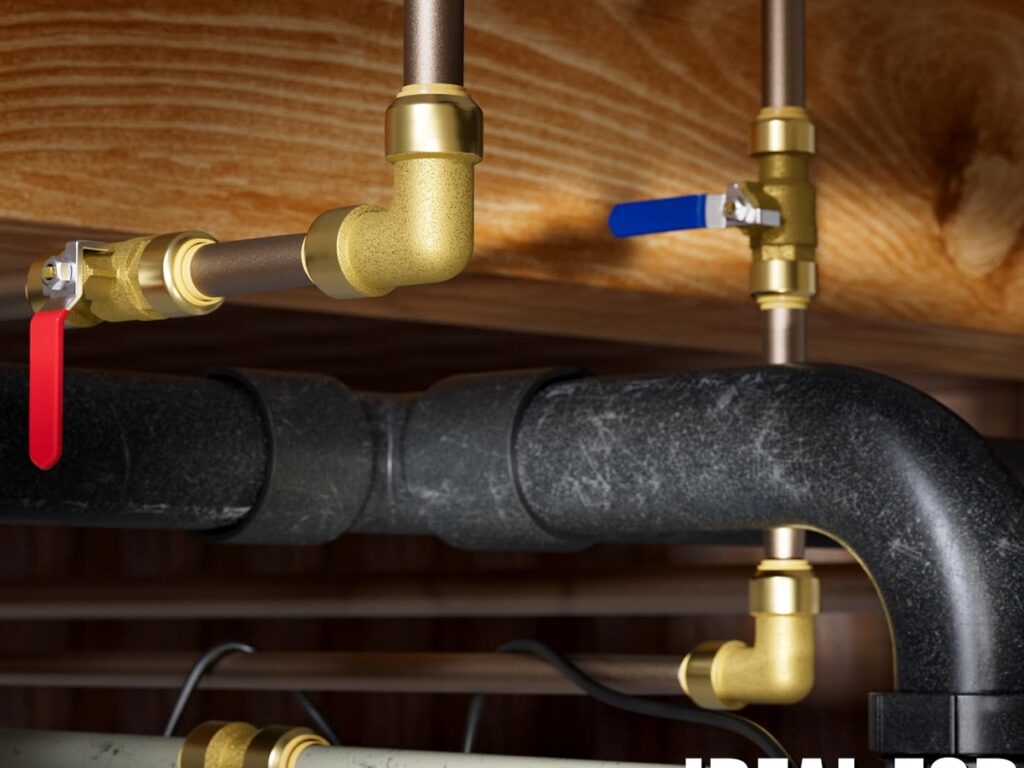
2. Turn Off the Cold Water Supply
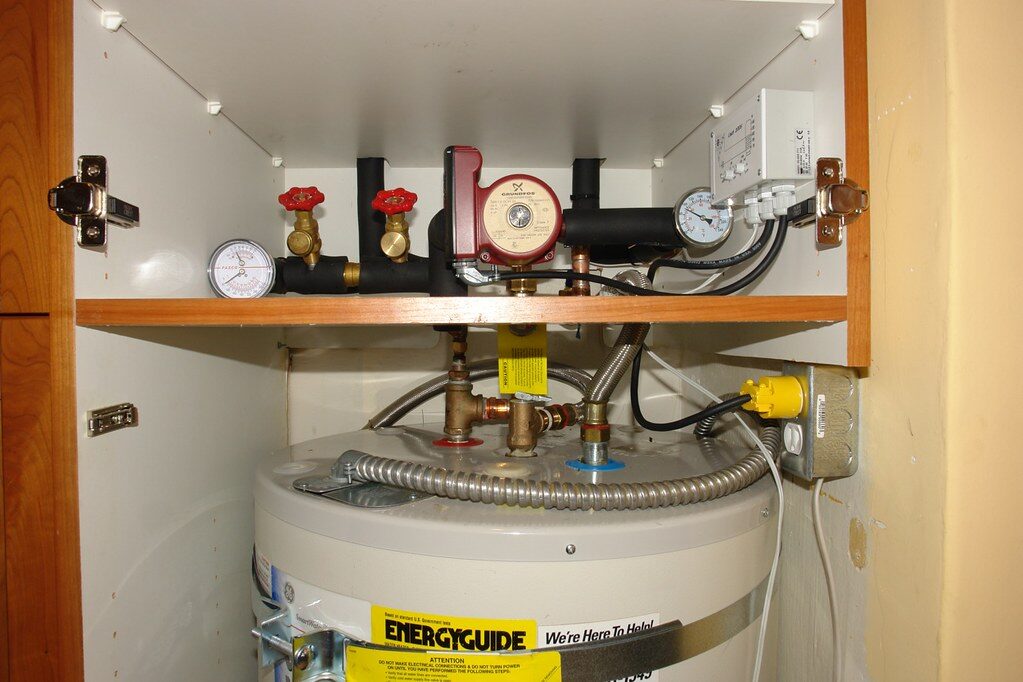
Once the heater has cooled down, turn off the cold water supply valve located at the top of the tank. This stops additional water from entering while you drain it. Shutting off the supply ensures that sediment doesn’t get stirred up by incoming water pressure. If you have a ball valve, turn it a quarter turn until it’s perpendicular to the pipe. For older gate valves, rotate clockwise until tight. This simple step helps maintain steady control over the draining process and prevents unexpected splashing or pressure surges later on.
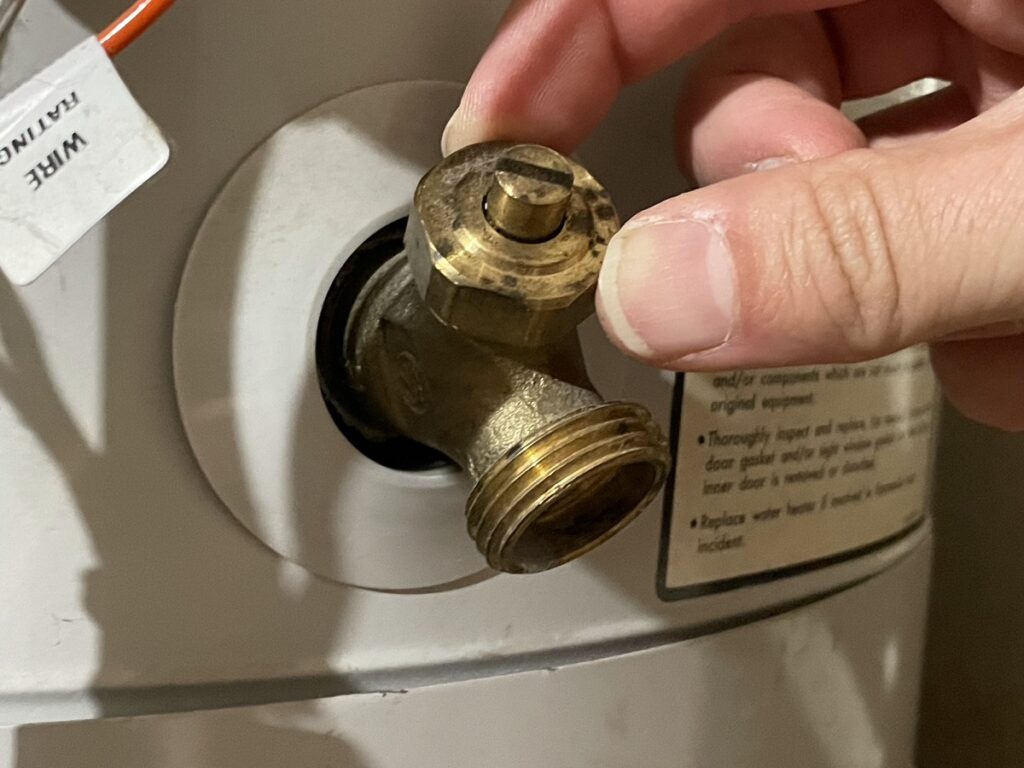
3. Connect a Garden Hose to the Drain Valve
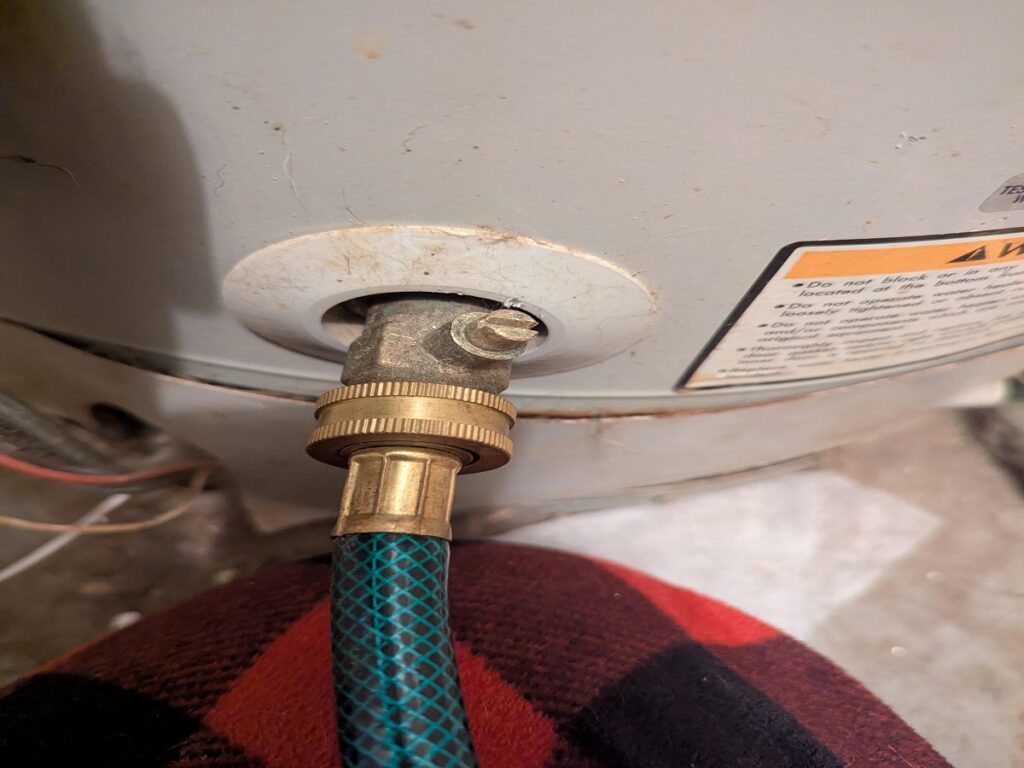
Locate the drain valve near the bottom of your heater and attach a standard garden hose securely. Make sure the hose’s other end is directed toward a safe drainage area, such as a floor drain, driveway, or outdoor location that can handle hot water and sediment. Double-check the connection to prevent leaks once you start draining. If your tank sits in a basement without proper floor drainage, consider using a small pump to move the water outside. Planning where the water will go beforehand prevents a messy and inconvenient cleanup afterward.
4. Open a Hot Water Faucet

To help the water flow smoothly out of the tank, open a hot water faucet in a nearby sink or bathtub. This step releases air into the system, breaking the vacuum seal that can slow drainage. Keeping a faucet open throughout the process allows water to flow continuously and reduces the likelihood of pressure buildup inside the tank. Choose a faucet on the same floor or slightly higher than the water heater for the best results. It might make some sputtering sounds at first, but that’s completely normal and helps ventilation.
5. Open the Drain Valve Carefully
Now it’s time to begin draining. Slowly open the drain valve on the heater to let water flow through the hose. Be cautious if the water hasn’t cooled enough; it can still be very hot. As the tank empties, you’ll likely notice cloudy or rusty water initially; this is sediment flushing out. Allow the water to run until it appears clear. If the flow slows or stops, sediment buildup might be clogging the valve. Closing it briefly and reopening it often helps clear blockages without causing unnecessary pressure.
6. Flush Remaining Sediment
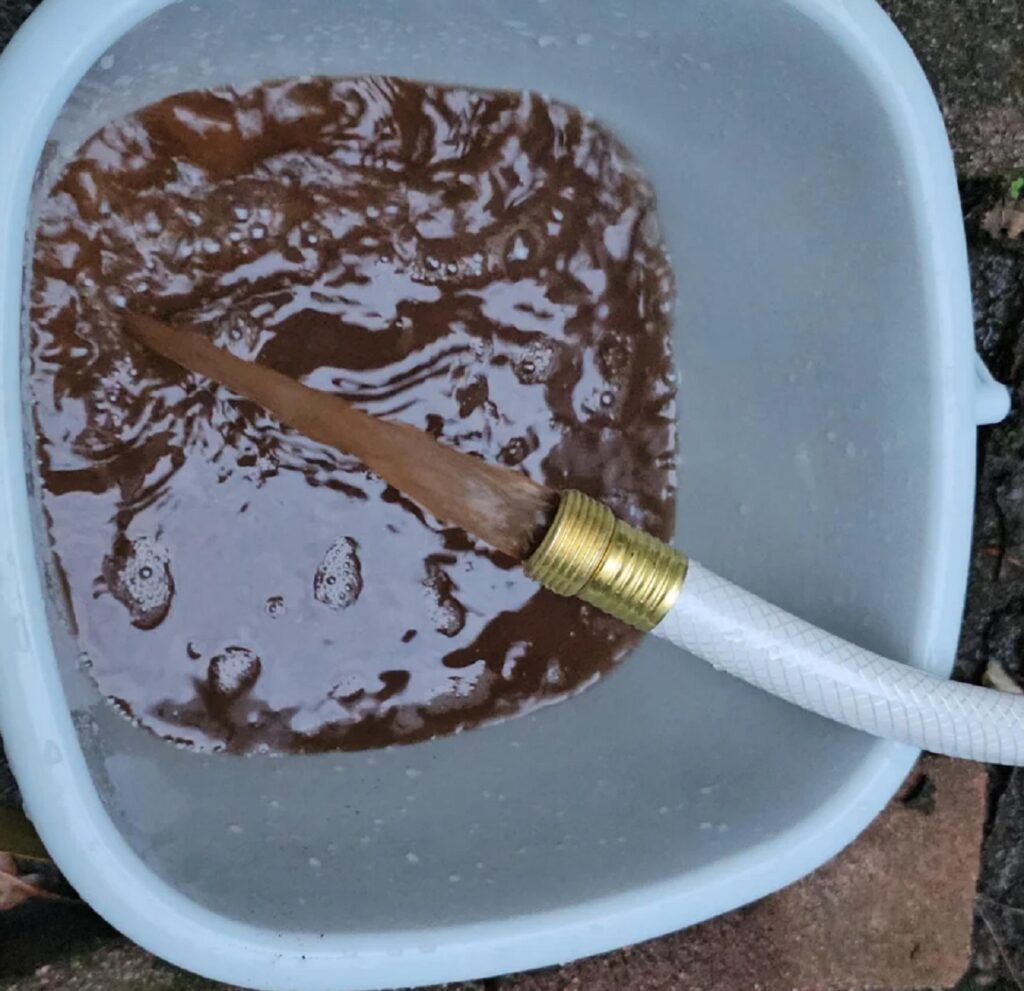
After the initial draining, turn the cold water supply back on for a few minutes while keeping the drain valve open. This helps flush out lingering sediment and mineral deposits from the bottom of the tank. You’ll see the water run clearer with time. This flushing step is essential for preventing corrosion and maintaining energy efficiency. Once the water looks clean, turn off the cold supply again and allow the last bit to drain out. The clearer the water, the better your heater will perform in the months ahead.
7. Close the Drain Valve and Refill the Tank
When you are satisfied that the drained water is clean, close the drain valve tightly to stop the flow. Remove the garden hose and check for any leaks around the connection point. Next, turn the cold water supply back on to refill the tank, keeping the hot water faucet open during the process. Once a steady stream of water flows from the faucet, indicating that the tank is full and all air has been purged, you can close the faucet. This ensures the tank fills properly without trapping air pockets inside.
8. Restore Power or Gas and Check Operation
Finally, it’s time to get your heater running again. If it’s an electric model, switch the power back on at the breaker only after the tank is completely full to prevent damaging the heating elements. For gas heaters, turn the gas valve back on and relight the pilot if necessary. Once operating, listen for any unusual noises or leaks near the valves and allow the system about thirty minutes to reheat. Your water heater is now clean, efficient, and ready to deliver hot water again.
Comments