When most people think about dryer safety, the first thing that comes to mind is the lint trap. We’ve all been told to clean it regularly to keep the dryer working efficiently and to reduce the risk of fire. But what many homeowners don’t realize is that lint doesn’t always stay neatly inside that filter. Tiny fibers often sneak past the trap and settle deeper into the dryer’s lint housing, a hidden spot that rarely gets any attention. Over time, this buildup becomes a silent hazard that not only strains your dryer but can also spark a dangerous fire. The good news? Cleaning this overlooked area is easier than it sounds. With just a few tools and a little time, you can give your dryer a fresh start and gain peace of mind. Here’s a simple five-step guide to help you do it safely and effectively.
1. Unplug and Disconnect the Dryer
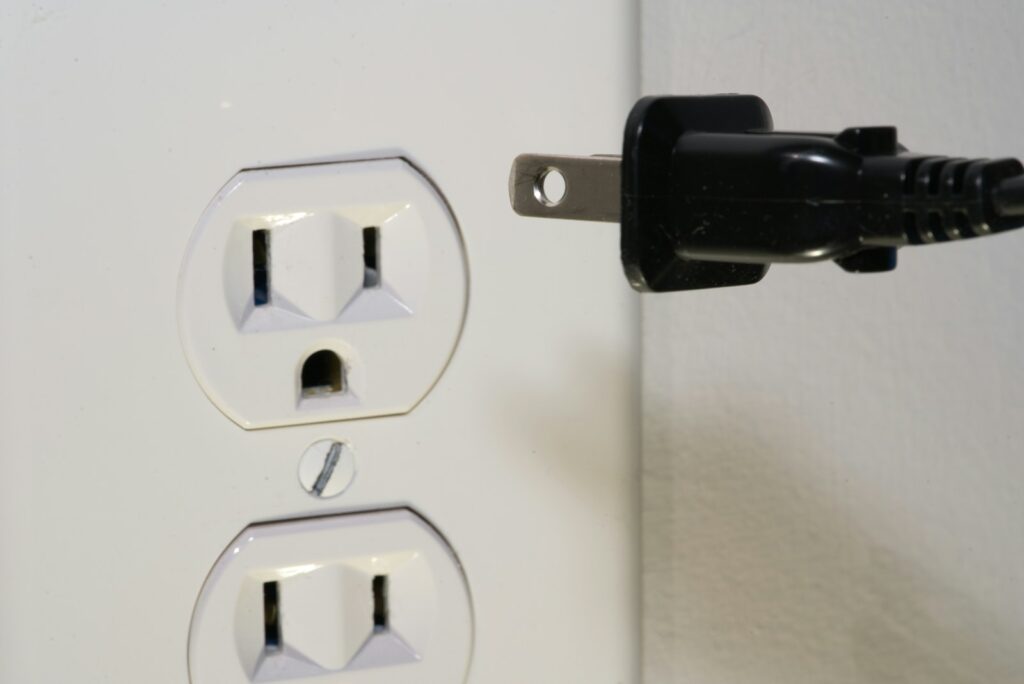
The very first step in cleaning your dryer’s lint housing is to ensure safety, and that means disconnecting it from any power source. Even if you are only planning to reach into the lint compartment, unplugging the machine prevents any risk of electrical accidents while you are working. Dryers run on high voltage, so this step is not one to skip or rush through. Take a moment to pull the plug completely from the wall outlet and set it aside where it cannot be bumped back into place. Only after this should you begin cleaning confidently and safely.
2. Locate the Lint Housing
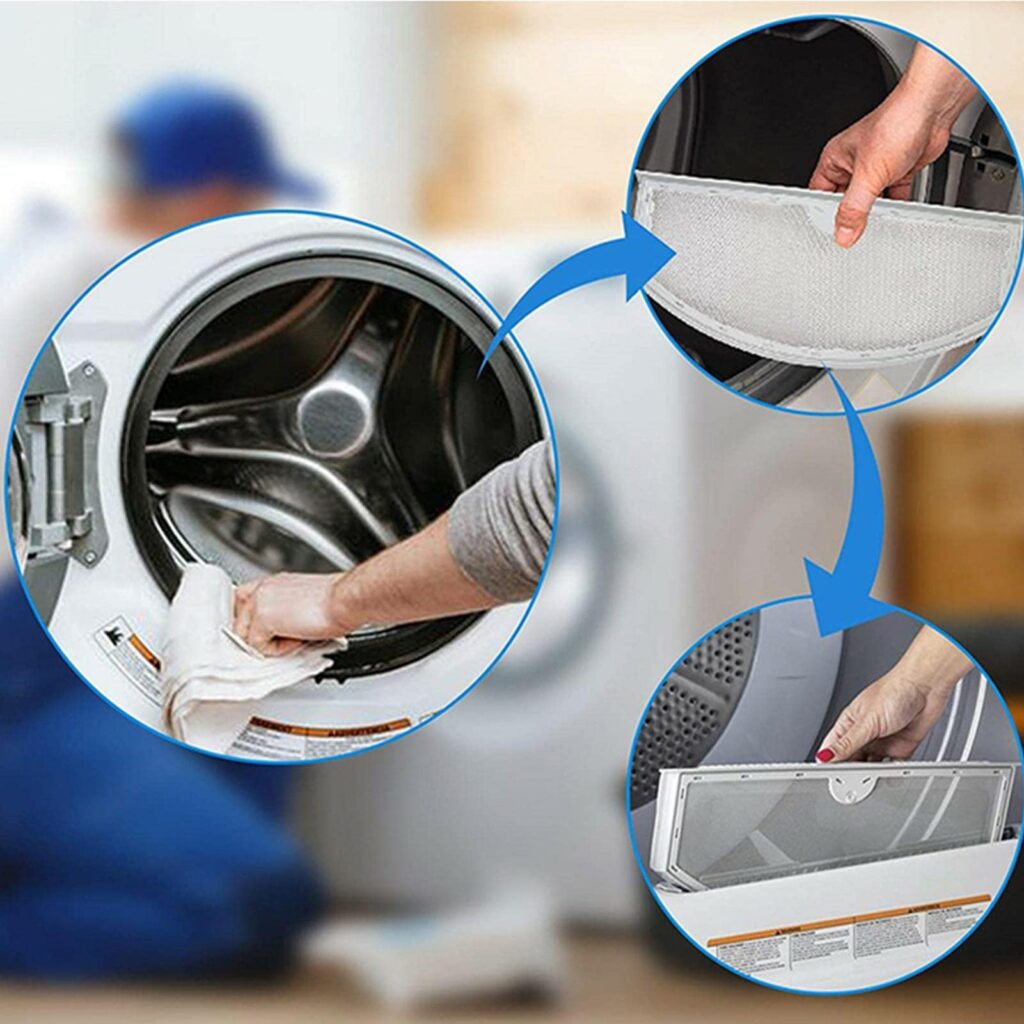
After unplugging, it is time to find where lint often hides. The lint housing is the section located directly behind the slot where your lint trap slides in. To reach it, first remove the lint trap and check for screws, panels, or clips that keep the housing sealed. Different dryers have slightly different designs, so you might need a screwdriver or simply a little patience to figure out the entry point. The housing is usually not hard to access once you know where to look, and this is the critical area where most hidden lint tends to gather.
3. Vacuum Out the Debris
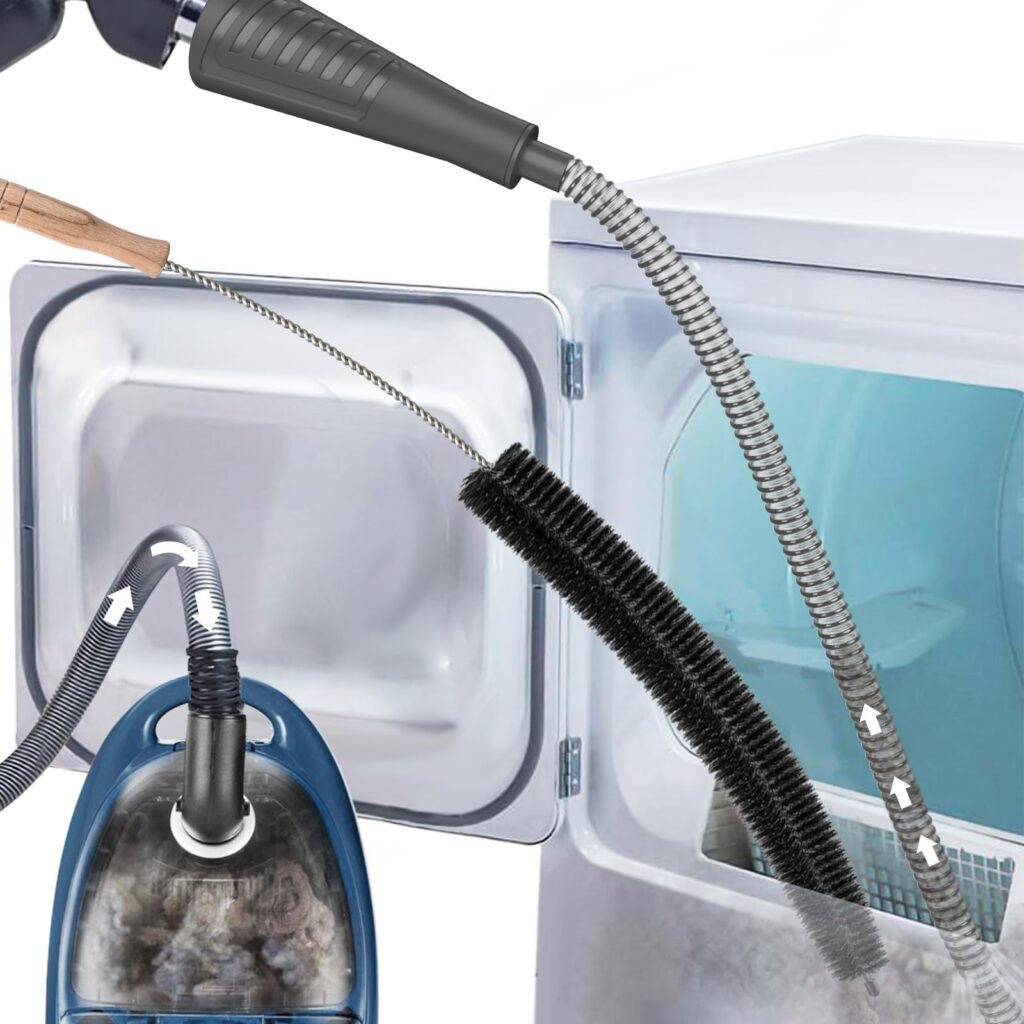
Once you have access to the lint housing, the next task is to remove the built-up lint and dust that escaped the trap. The best way to do this is by using a vacuum with a long, narrow nozzle or a specialized dryer vent cleaning brush. Insert the attachment carefully into the compartment and move it around to loosen and suction away lint clumps. Be thorough, as even small piles of lint can reduce airflow and increase fire risk. You may be surprised by how much collects here over time, even with regular lint trap cleaning.
4. Wipe Down the Area
After vacuuming, it is important to finish the cleaning by wiping down the interior walls of the housing. A soft, slightly damp cloth works best for this job because it will pick up fine particles and residual dust that the vacuum may have missed. Wiping ensures that the space is truly clean and free from any fibers that could continue to build up again quickly. This also gives you the chance to spot any signs of wear or damage inside the compartment. A clean lint housing not only improves efficiency but also helps maintain the dryer’s overall longevity.
5. Reassemble and Test
Once the lint housing is spotless, reassemble everything carefully so that your dryer is ready to run smoothly again. Insert the lint trap back into its slot, tighten any screws or clips you removed, and plug the machine back into the outlet. To make sure everything is working properly, run a short cycle without any clothes inside. This test ensures the dryer is safe, airflow is unobstructed, and the cleaning process was successful. Regularly repeating this step every few months keeps your dryer in top shape and gives you the confidence that your home is safer from fire risks.
Comments