Installing a new faucet may sound intimidating at first, but with a bit of preparation and the right approach, the process can be surprisingly manageable. Faucets are designed with standard fittings, making them compatible with most sinks built after the 1990s when modern plumbing codes became widely adopted. Whether you’re upgrading your bathroom or kitchen, taking a step-by-step approach can save time, reduce stress, and ensure a leak-free installation. Below are ten simple tips to help you make faucet installation easier and more efficient.
1. Gather Tools Before Starting
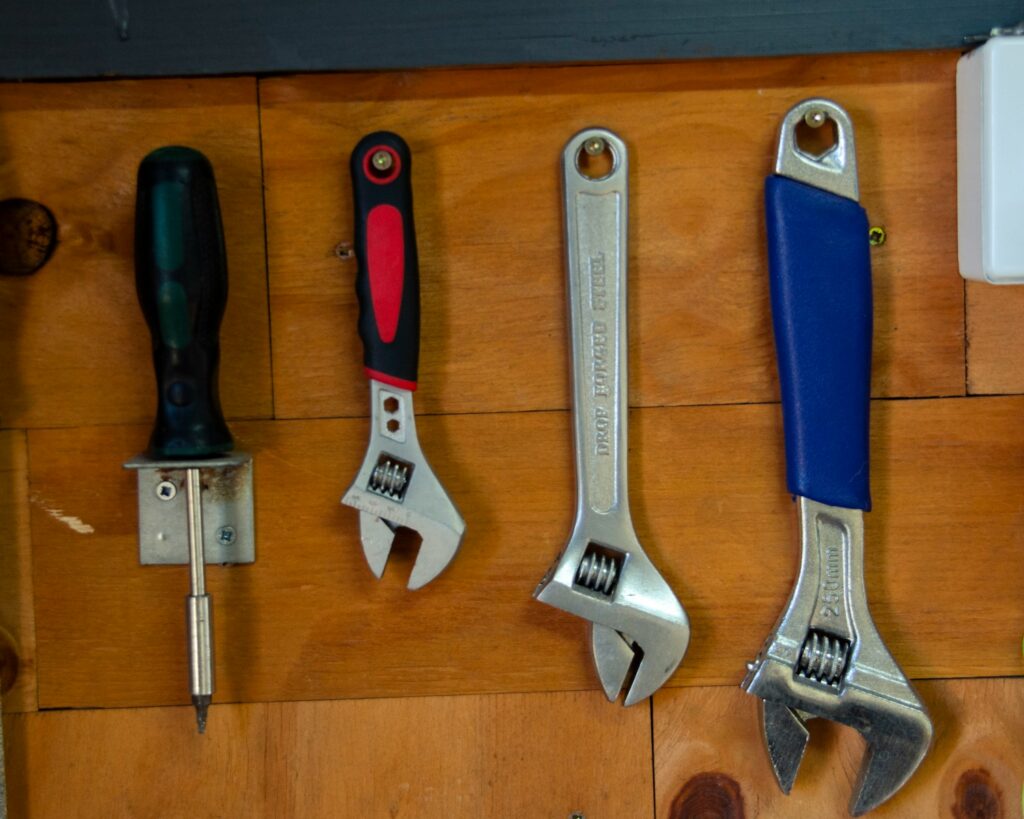
One of the most overlooked steps in faucet installation is ensuring all necessary tools are ready before beginning. Most faucets built after the 1990s come with included parts like washers, gaskets, and mounting hardware, but you’ll still need essentials such as an adjustable wrench, plumber’s tape, and a basin wrench for tight spaces. Having everything laid out in advance prevents unnecessary pauses during installation and reduces the risk of missing a crucial step. Preparation sets the stage for a smoother process.
2. Shut Off the Water Supply
Before removing your old faucet, always shut off the water supply. Most sinks, especially those manufactured after 1985, come with individual shut-off valves located underneath. Turning them clockwise will stop the flow of water, preventing leaks and potential flooding. If your sink does not have localized valves, you may need to shut off the main water supply to the house. This simple precaution saves you from unnecessary messes and keeps your work environment controlled and dry.
3. Clear Out the Workspace

Working under a sink can be uncomfortable, but clearing out the area before you start makes the process far easier. Many kitchen cabinets built after 2000 include storage space directly beneath the sink, which often gets filled with cleaning supplies and household items. Removing everything gives you more room to maneuver and allows better visibility while working with tools. A clean workspace also minimizes accidents and keeps your tools within easy reach.
4. Take Pictures Before Removing the Old Faucet

Before you disconnect your old faucet, it’s helpful to snap a few photos of the existing connections. Faucets built after the late 1990s often include flexible supply lines, making them easier to swap out, but seeing how everything was originally connected can serve as a helpful guide. Pictures provide a quick reference if you get stuck during reassembly, helping you reconnect water lines or mounting brackets correctly. This small step can save time and confusion later.
5. Use Plumber’s Tape on Threads
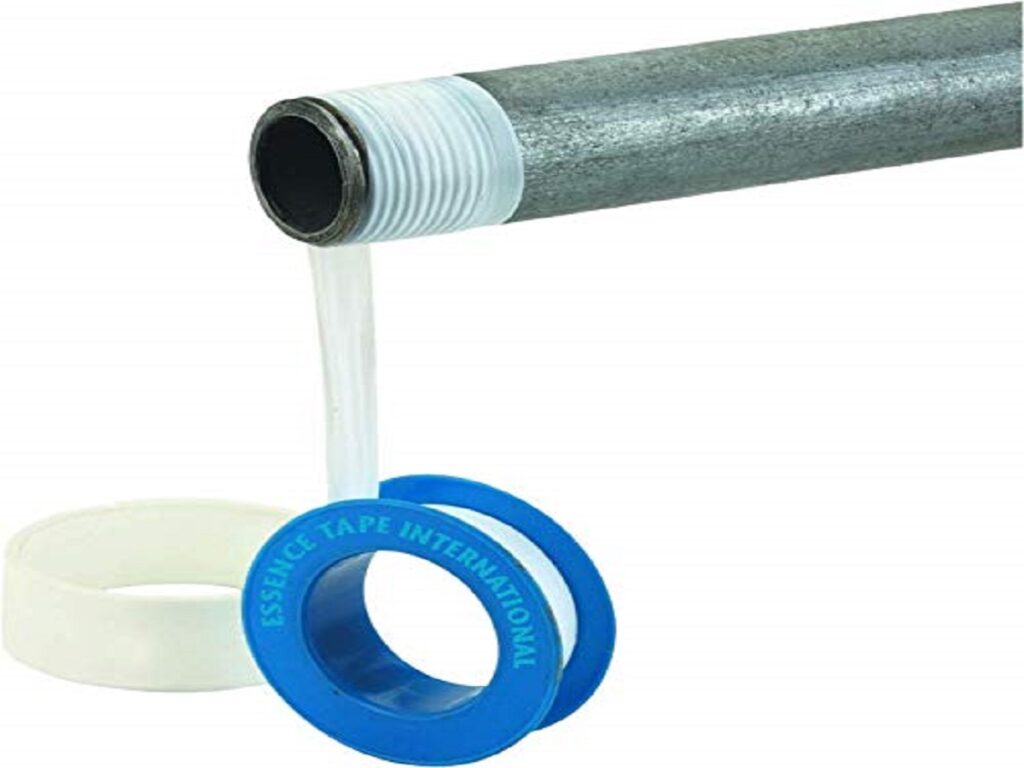
One essential step in ensuring a leak-free faucet installation is using plumber’s tape, also known as Teflon tape, on threaded connections. Faucets and water supply lines manufactured after the 1970s were standardized with threaded fittings that benefit from a tight seal. Wrapping the tape clockwise around the threads prevents water from seeping through and reduces the risk of future leaks. It’s a simple but effective practice that greatly improves the durability of your installation.
6. Check the Faucet for All Parts
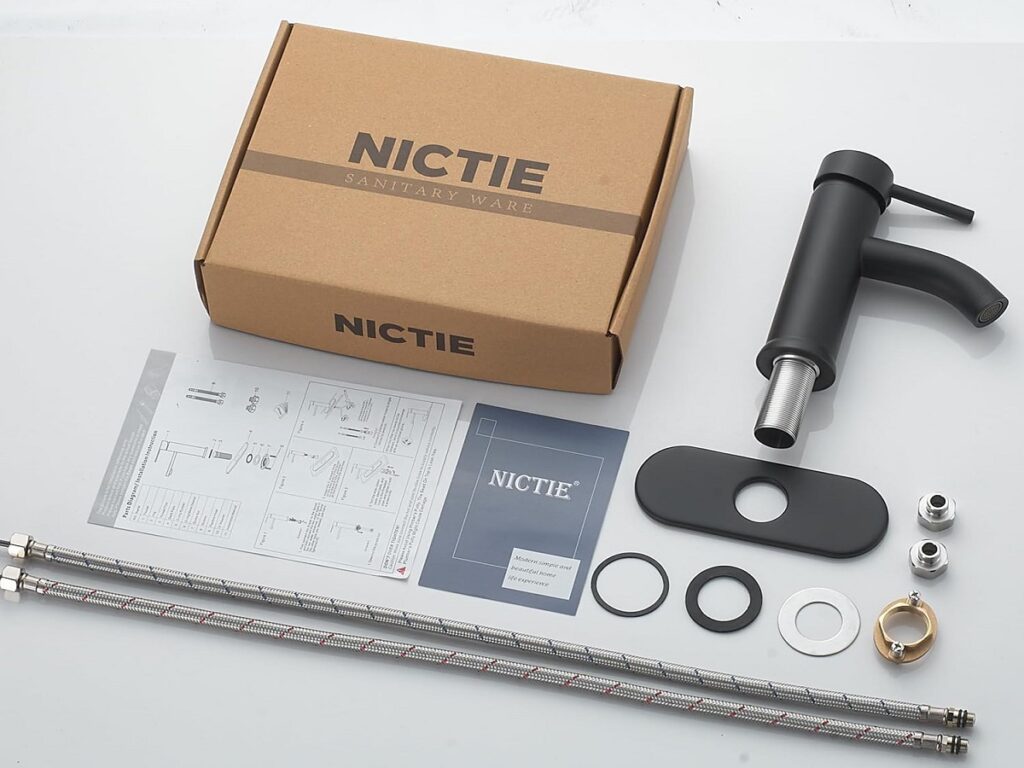
Before beginning installation, carefully unpack your new faucet and verify that all components are included. Faucets built after 2005 often come with pre-attached hoses, washers, and mounting hardware, but it’s always worth confirming nothing is missing. If you skip this step, you might find yourself halfway through the project only to realize a critical piece isn’t there. Ensuring you have every part upfront keeps your installation running smoothly without unexpected interruptions.
7. Hand-Tighten Before Using Tools

When connecting supply lines or mounting nuts, it’s best to start by tightening them by hand before using wrenches or pliers. Faucets designed after the 1990s often use compression fittings that are sensitive to over-tightening, which can damage washers or cause leaks. Hand-tightening ensures parts are aligned correctly before applying additional force with tools. This approach minimizes the risk of cross-threading and helps maintain a secure, long-lasting connection.
8. Use a Basin Wrench for Tight Spaces
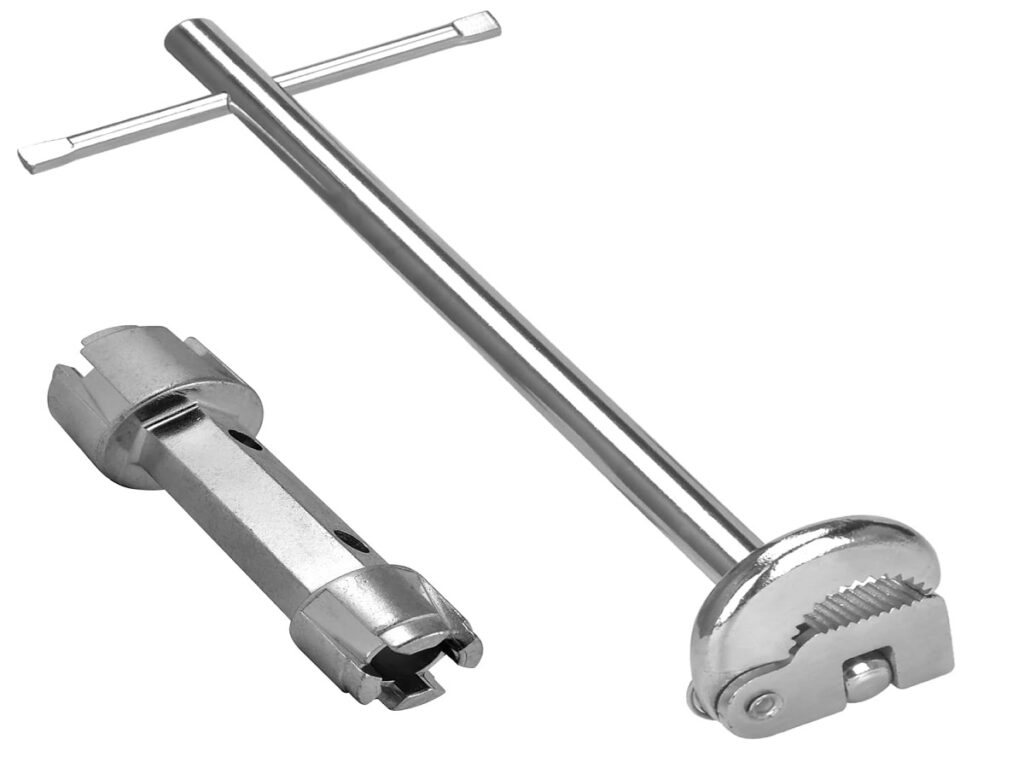
The space under a sink is often cramped, and standard tools can be difficult to maneuver. A basin wrench, developed specifically for working in narrow spaces, makes tightening nuts behind the sink much easier. Most modern sinks built after 1980 have limited clearance, and this tool is designed to reach where others cannot. Investing in a basin wrench ensures you can secure connections firmly without straining or forcing tools into awkward angles.
9. Test for Leaks Before Finalizing
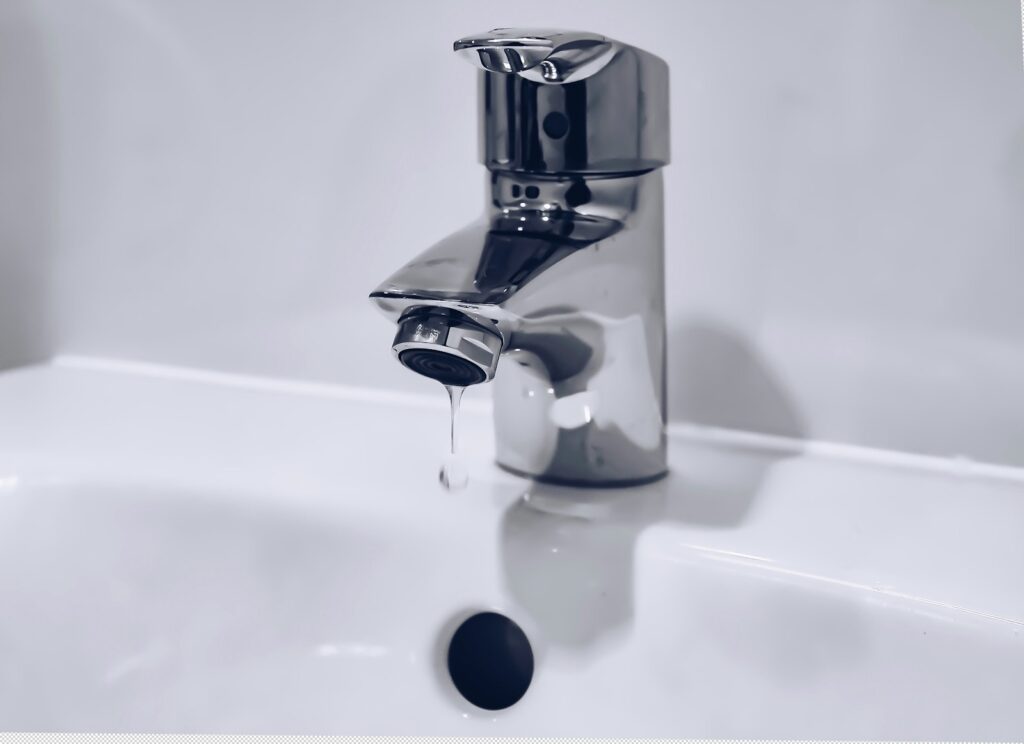
After connecting everything, it’s important to test the faucet before sealing up the installation completely. Slowly turn on the water supply and let the faucet run for a few minutes. Faucets built in recent decades are designed to handle standard water pressure, but even a minor misalignment can cause leaks. Checking for drips at every connection point helps you address issues immediately, saving you from costly water damage and repeated disassembly later on.
10. Secure and Clean the Area After Installation

Once your faucet is installed and leak-free, take time to secure the area and clean up. Modern faucets built after 2000 often include decorative escutcheons or covers that give a polished look, so make sure they are properly aligned. Wipe away any debris, excess plumber’s tape, or fingerprints left on the new fixture. A clean, finished workspace not only highlights the beauty of your new faucet but also ensures everything is properly fitted for long-term use.
Comments