Wiring an unfinished garage is one of the most practical upgrades you can do to make the space more functional and safe. Whether you plan to turn it into a workshop, home gym, or storage area, good wiring ensures you have enough power for lighting, tools, and appliances. Since unfinished garages often have exposed framing, they provide easy access for running cables and installing outlets. However, every step requires careful planning to avoid hazards and meet code requirements. These ten practical tips will help you approach your wiring project with confidence, ensuring efficiency, organization, and lasting safety.
1. Plan Your Electrical Layout
A well-thought-out electrical layout is the foundation of a safe and functional garage. Start by sketching your space and marking where you want outlets, switches, and light fixtures. Consider where you’ll use power tools, chargers, and larger appliances so you can distribute outlets evenly. It’s also smart to anticipate future uses, such as installing a workbench, adding storage lighting, or charging an electric vehicle. Mapping everything early helps avoid overloading circuits and minimizes unnecessary rewiring later. A clear layout will also make it easier to calculate materials, wire lengths, and the number of breakers required for each section.
2. Check Local Building Codes

Before starting any wiring project, always check your local building codes and permit requirements. Electrical codes exist to ensure safety and proper installation, protecting you from potential fire hazards or costly rework. These regulations specify wire sizes, grounding rules, and outlet spacing, which vary depending on your region. Applying for a permit may seem tedious, but it allows for an official inspection that verifies your wiring meets safety standards. If you skip this step, you risk fines or insurance issues later. Following the code keeps your project legal, safe, and aligned with professional electrical practices.
3. Choose the Right Wire Gauge

Selecting the proper wire gauge is crucial for preventing overheating and electrical failure. The gauge determines how much current the wire can safely carry, so using the correct size ensures efficiency and safety. Most 20-amp circuits in garages require 12-gauge wire, but heavy-duty equipment like air compressors or table saws might need thicker 10-gauge wiring. Before buying materials, review your circuit requirements and device wattage to match the wire capacity accordingly. Overloading a wire that’s too small can cause serious hazards, while oversizing wires unnecessarily adds cost. Always balance practicality, safety, and compliance with code specifications.
4. Install Sufficient Outlets

A garage should have enough outlets to handle multiple tasks without overusing extension cords. Plan for at least one outlet on every wall, spaced about six feet apart, to keep cords organized and accessible. Position outlets higher on the wall for workbenches and near entrances for easy reach. Dedicated circuits for heavy-duty equipment, refrigerators, or chargers prevent power interruptions. Adding extra outlets now avoids the need for risky plug adapters later. A well-distributed outlet plan not only improves safety but also ensures flexibility as your garage evolves into a more productive and clutter-free workspace.
5. Use GFCI Outlets
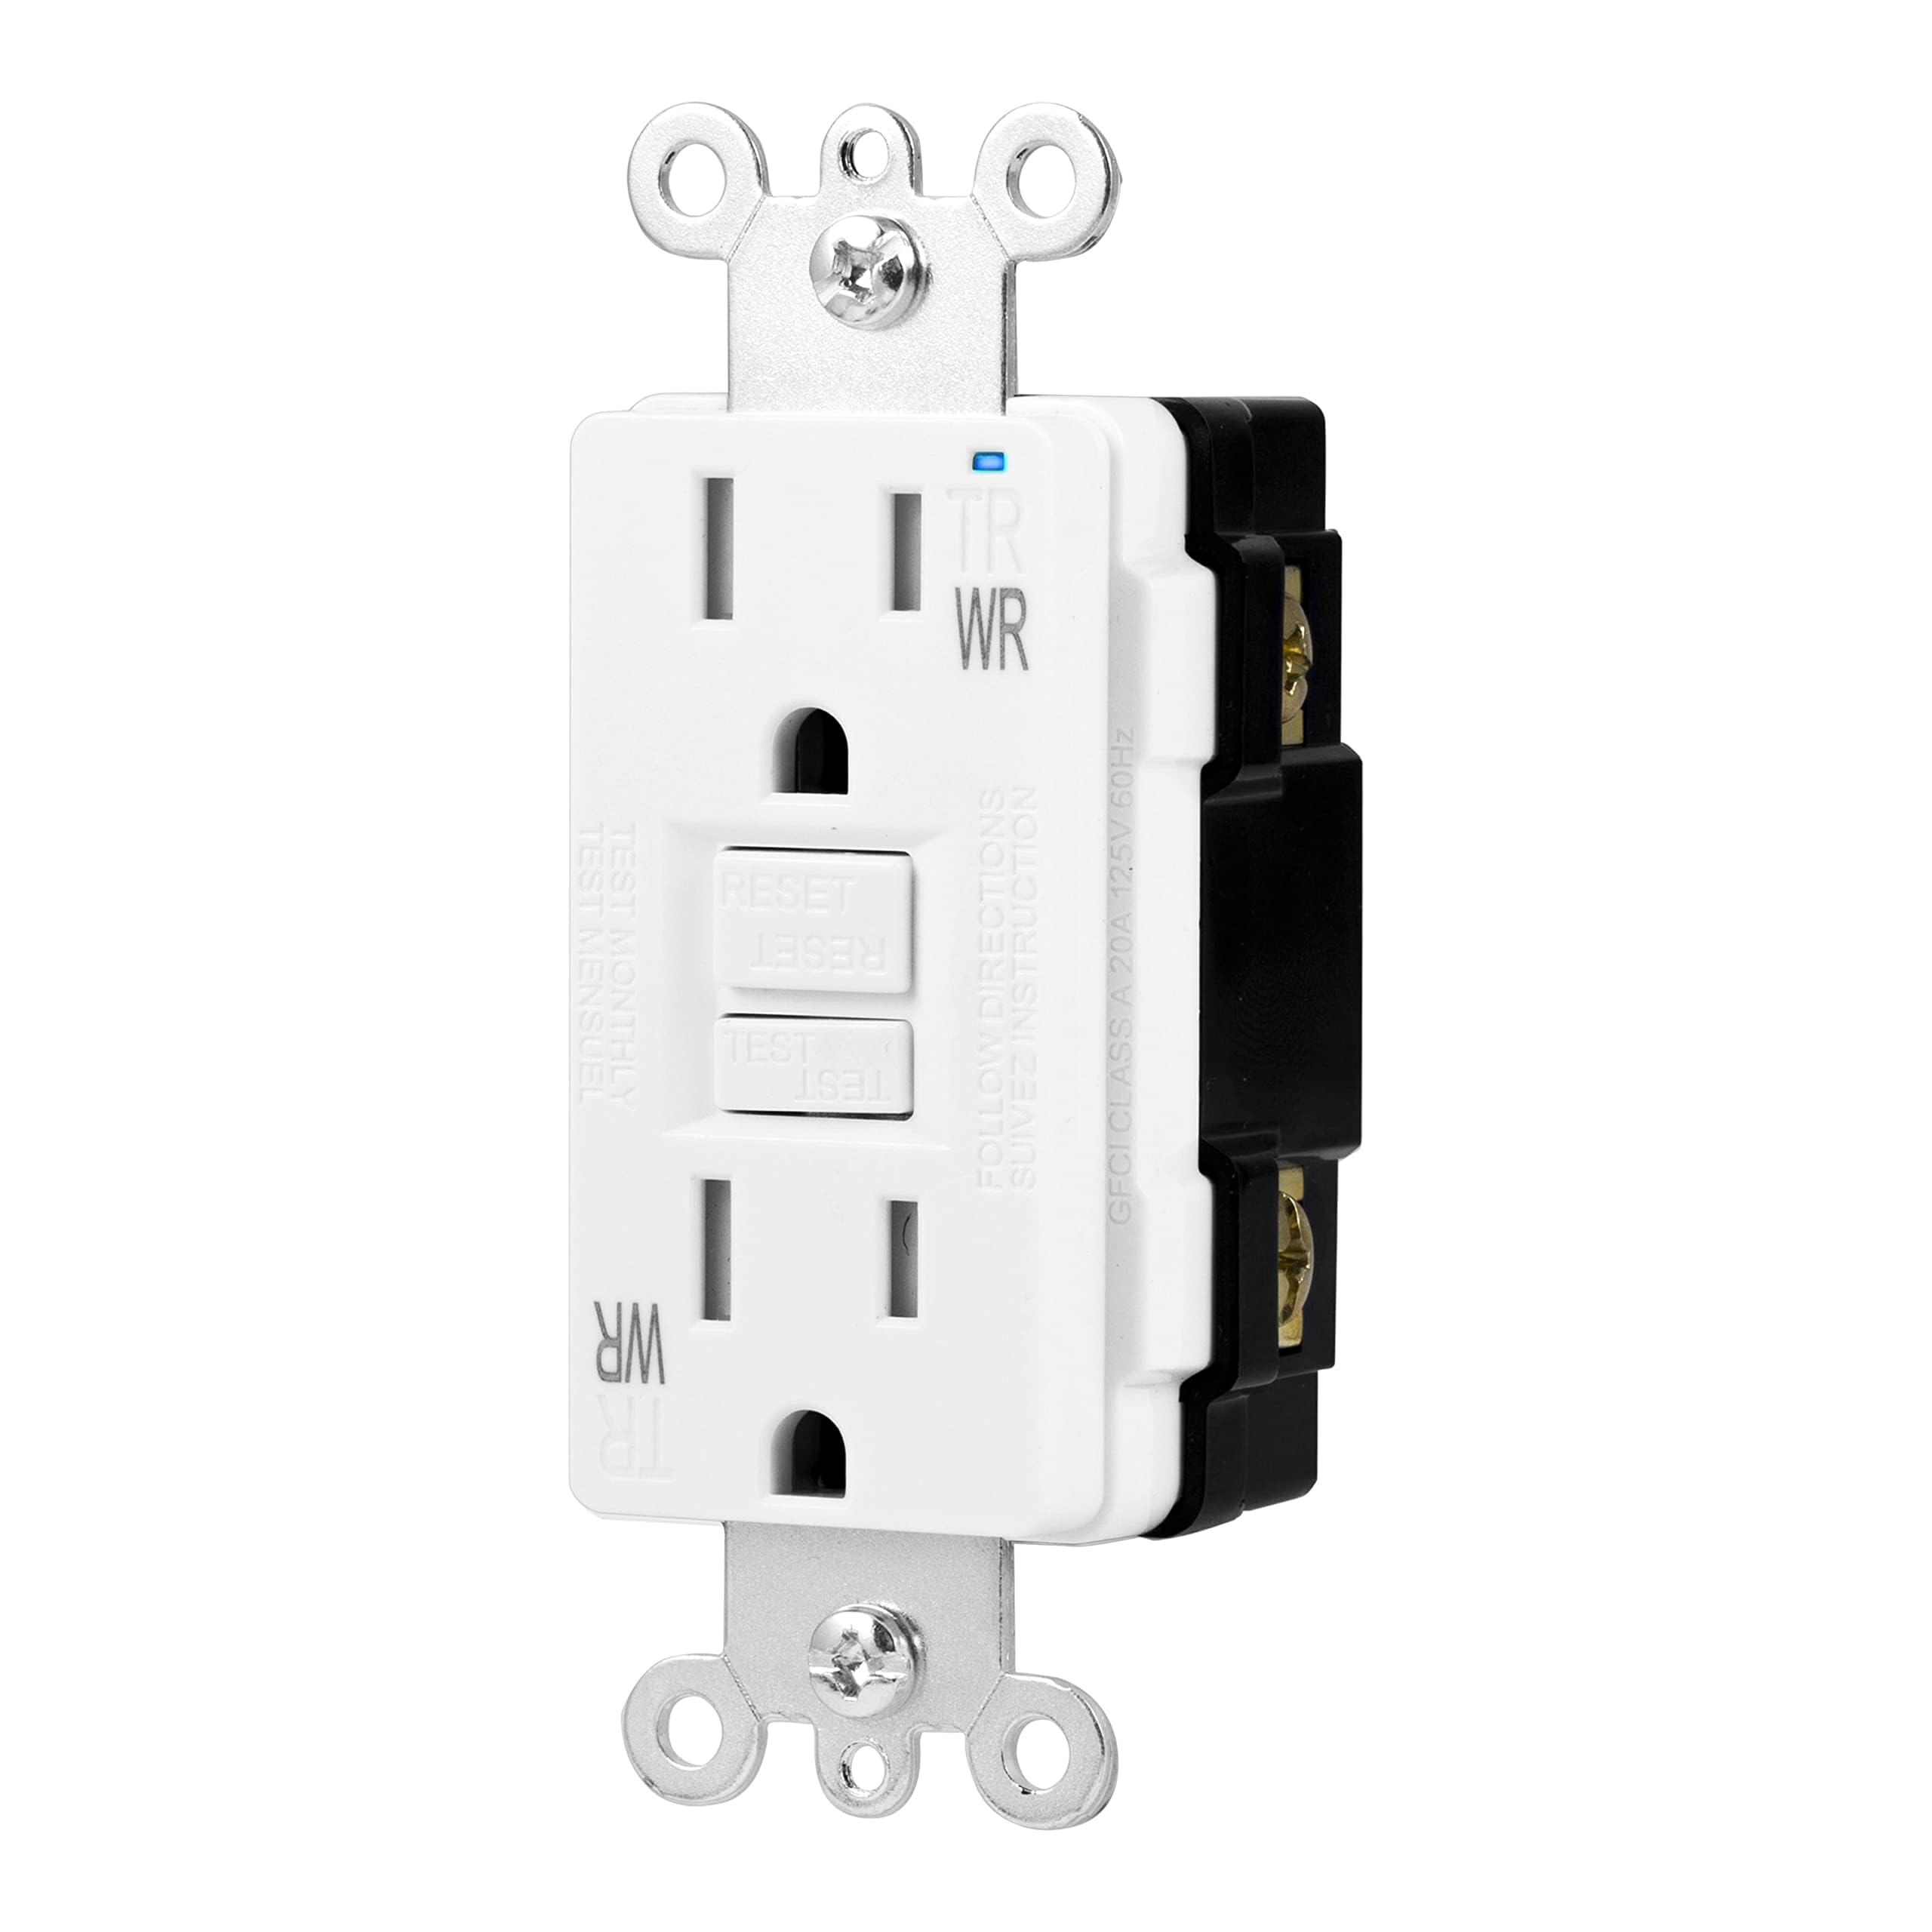
Ground Fault Circuit Interrupter (GFCI) outlets are mandatory in garages because they protect against electrical shock in damp or outdoor conditions. These outlets automatically shut off power if they detect an imbalance in the electrical flow, such as water contact or faulty wiring. Installing GFCI outlets near doors, sinks, or any area exposed to moisture ensures maximum safety. They’re easy to reset and help prevent serious accidents, especially in spaces where tools and liquids are common. Choosing weather-resistant GFCIs also improves durability and keeps your garage wiring compliant with modern safety standards.
6. Label All Circuits Clearly

Labeling your electrical circuits makes maintenance and troubleshooting much easier. When installing outlets, switches, and breakers, clearly mark what each one controls. Use durable labels that won’t fade over time and record the same information on your breaker panel. This simple step saves frustration when resetting breakers or adding new connections in the future. It also helps electricians identify circuits quickly if professional work is ever needed. Proper labeling reflects an organized electrical system, preventing confusion and improving overall safety whenever modifications or repairs become necessary.
7. Add Adequate Lighting

Good lighting is essential for any functional garage. Combine overhead fixtures with task lighting for work areas and corners that need extra visibility. LED lights are an ideal choice because they’re energy-efficient, bright, and long-lasting. Position fixtures strategically to reduce shadows, especially near workbenches or tool storage areas. You can also consider motion-sensor or smart lighting for convenience and energy savings. A well-lit garage enhances safety, makes projects easier, and improves the overall atmosphere of the space, turning it into a comfortable and efficient area for both work and storage.
8. Protect Exposed Wires
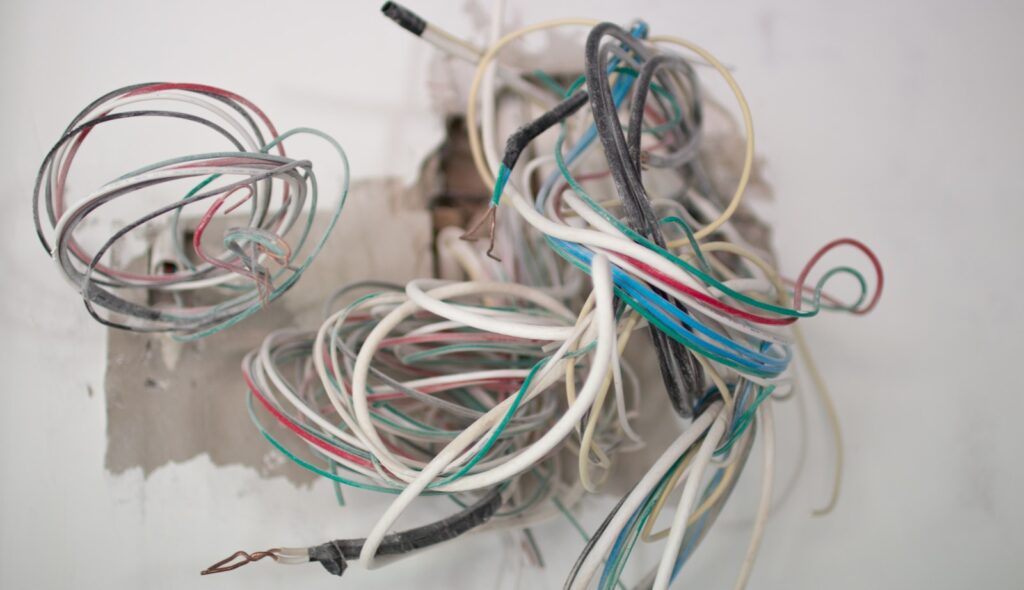
Since unfinished garages often have open walls and ceilings, protecting your wiring is critical. Use conduit or armored cable to cover exposed wires, preventing them from being damaged by tools, pests, or accidental contact. Conduit also keeps your setup neat and professional-looking while making future updates easier. Metal or PVC conduit can be chosen based on your preference and local code requirements. Secure the wiring properly with clips or straps to prevent sagging. Taking the extra time to safeguard exposed wires ensures a safer, longer-lasting electrical installation.
9. Plan for Future Expansion

As your needs evolve, you might want to add more tools, lighting, or even an electric vehicle charger. To avoid redoing your wiring, plan ahead by leaving room in your electrical panel for additional circuits. Running extra conduit or slightly oversizing your service can make future upgrades simpler and more cost-effective. Thinking long-term helps your garage stay adaptable to new technologies or uses without major rewiring. It’s easier to include expansion potential during your initial setup rather than tearing into finished walls later when your power demands increase.
10. Have a Professional Inspect Your Work

Even if you complete most of the wiring yourself, it’s wise to have a licensed electrician review your work before closing up the project. A professional inspection ensures all connections, grounding, and circuit loads meet safety codes and function properly. Electricians can spot issues that might go unnoticed, such as incorrect wire sizing or loose terminals. This final step offers peace of mind, confirming your garage wiring is safe, efficient, and compliant. Investing in an expert’s approval prevents costly problems and ensures your garage remains a reliable and secure space for years to come.
Comments