Garlic has long been a kitchen staple, but it’s also one of the most rewarding crops you can grow in your garden. It requires little fuss yet provides big flavor, making it a favorite among home gardeners. Planting garlic in the right season ensures a healthier harvest, and fall is considered the best time for most regions. This guide will walk you through six simple steps, each designed to set you up for success.
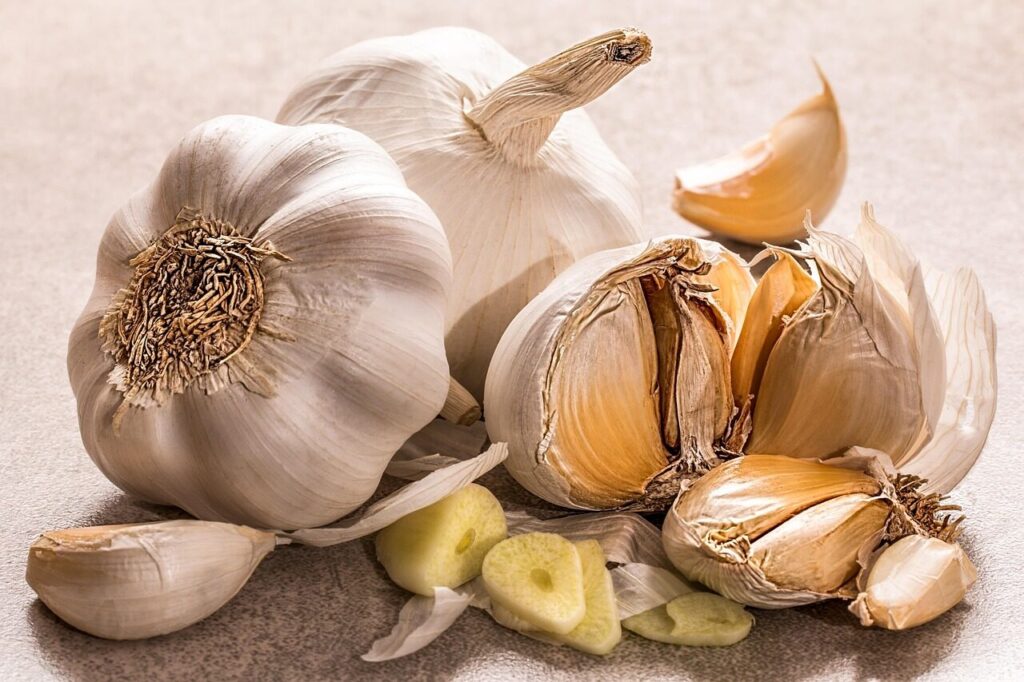
1. Choose the Right Variety
The first step in planting garlic is selecting the right type for your climate and taste. Garlic mainly comes in two categories: hardneck and softneck. Hardneck varieties thrive in colder climates, producing flavorful bulbs and edible scapes, while softneck varieties are better for milder regions and usually store longer. Always buy seed garlic from a trusted source instead of using grocery-store bulbs, which may carry diseases or be chemically treated. The variety you choose determines not only flavor and storage life but also how well your garlic adapts to local growing conditions, giving your harvest the best start possible.
2. Know When to Plant
Timing plays a huge role in garlic’s success. For most gardeners, the best time to plant is in the fall, typically a week or two after the first frost, when the soil is cool but not frozen. This ensures cloves develop strong roots before winter arrives. In warmer climates, garlic can be planted later in the season, sometimes into early winter, as long as the soil remains workable. Planting too early may trigger premature sprouting, while planting too late risks weak growth. Correct timing balances root establishment and dormancy, setting the stage for a robust harvest in the following summer.
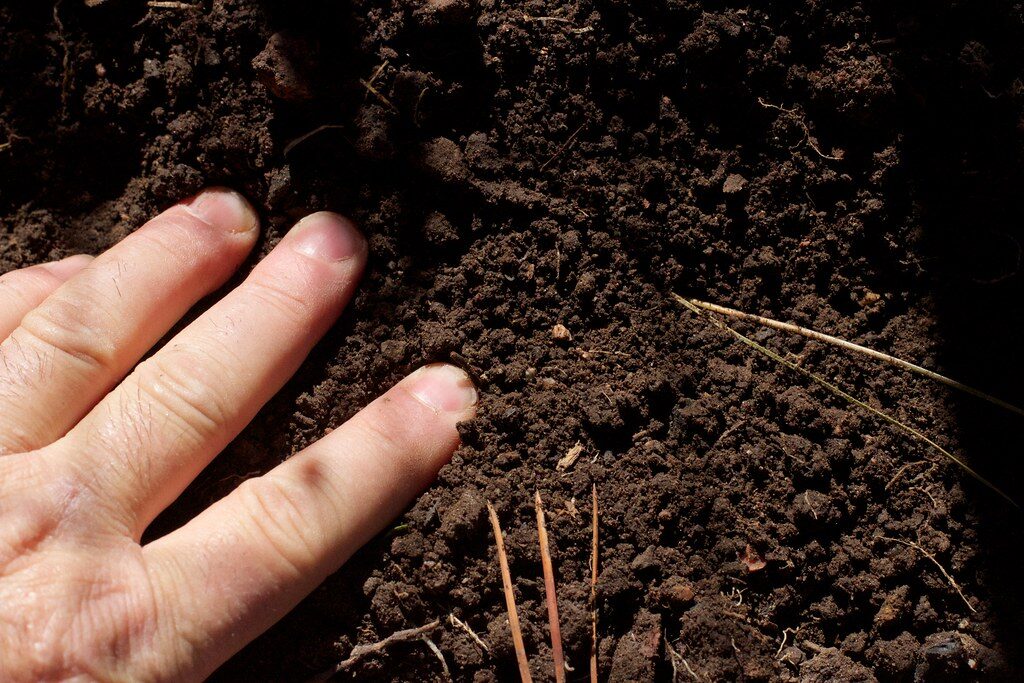
3. Prepare the Planting Site
Garlic thrives in sunny locations with loose, well-draining soil. Start by choosing a spot that receives at least six hours of sunlight daily. Work the soil to a depth of 8 to 10 inches, mixing in compost or aged manure to enrich fertility. Garlic prefers a soil pH between 6.0 and 7.0, so adjusting with lime or sulfur may be helpful if needed. Avoid heavy clay soils that trap water, as garlic is sensitive to rot. Preparing your site properly not only provides nutrients but also ensures cloves have room to spread their roots, leading to bigger, healthier bulbs.
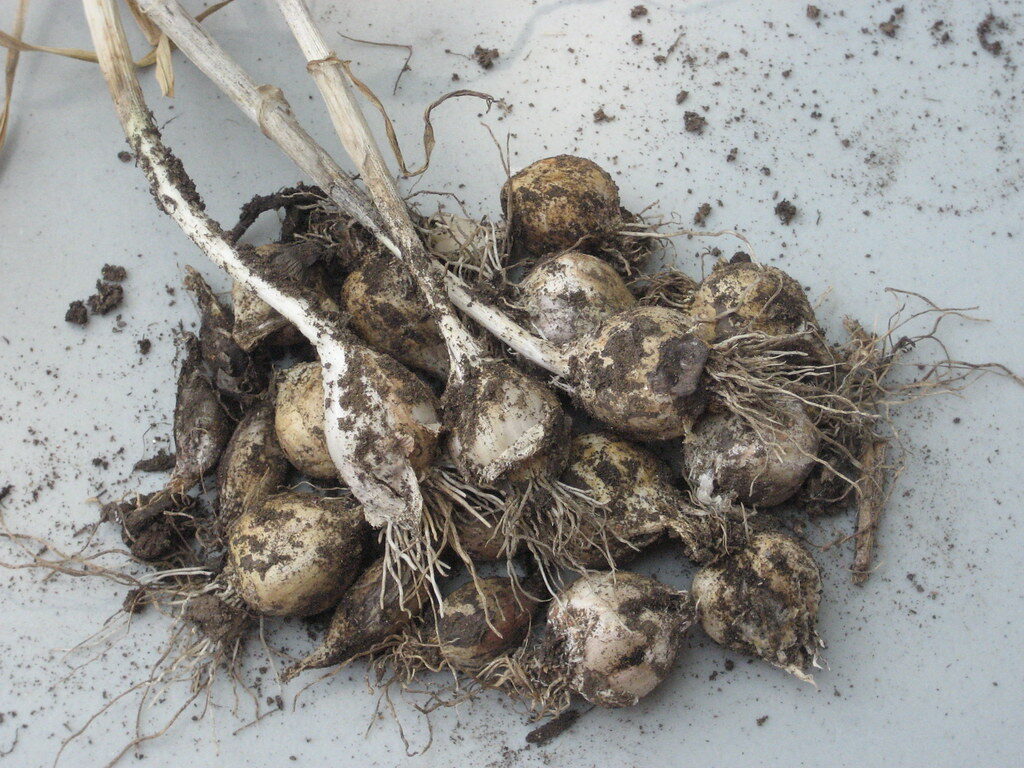
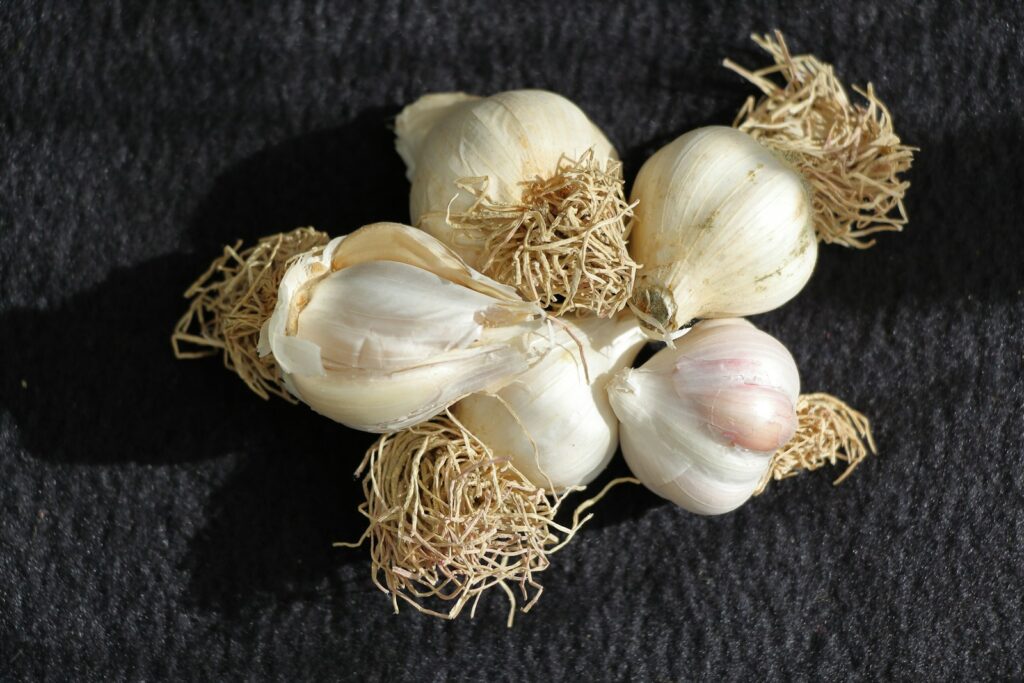
4. Separate the Cloves
Before planting, carefully break apart each garlic bulb into individual cloves. Handle them gently, keeping the papery skins intact, as these protect against disease and moisture loss. Do this step just before planting, not days ahead, since cloves left exposed too long may dry out or lose vitality. Larger outer cloves typically produce the strongest bulbs, so prioritize them for planting while saving smaller ones for cooking. By separating the cloves correctly and planting only the healthiest ones, you’re giving your garlic the best chance at producing strong, uniform bulbs that are easier to store and enjoy later.
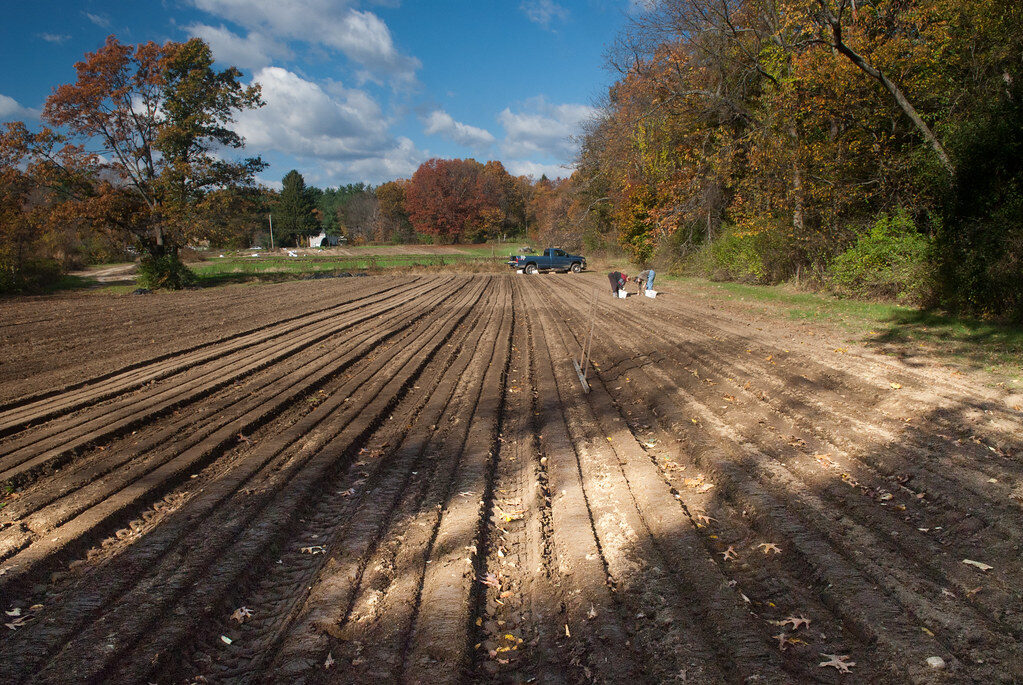
5. Plant the Cloves Correctly
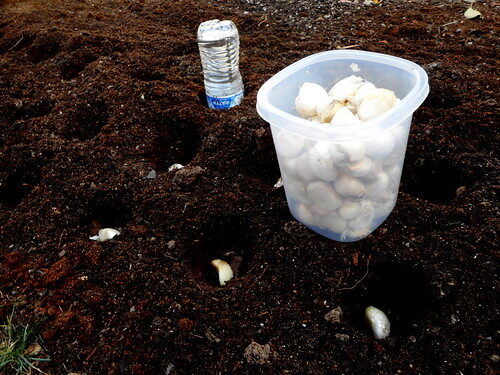
Plant each clove with the pointed side facing up, burying it about 2 to 4 inches deep in the soil. Space the cloves roughly 6 inches apart, with 8 to 12 inches between rows to allow room for weeding and growth. Planting too shallow may expose cloves to frost damage, while planting too deeply could slow sprouting. Adding a small amount of organic fertilizer, such as bone meal, into the hole can provide extra nutrients during the early stages. Precision at this step ensures each clove develops into a full bulb, creating uniform growth and maximizing your overall garlic harvest.
6. Mulch After Planting
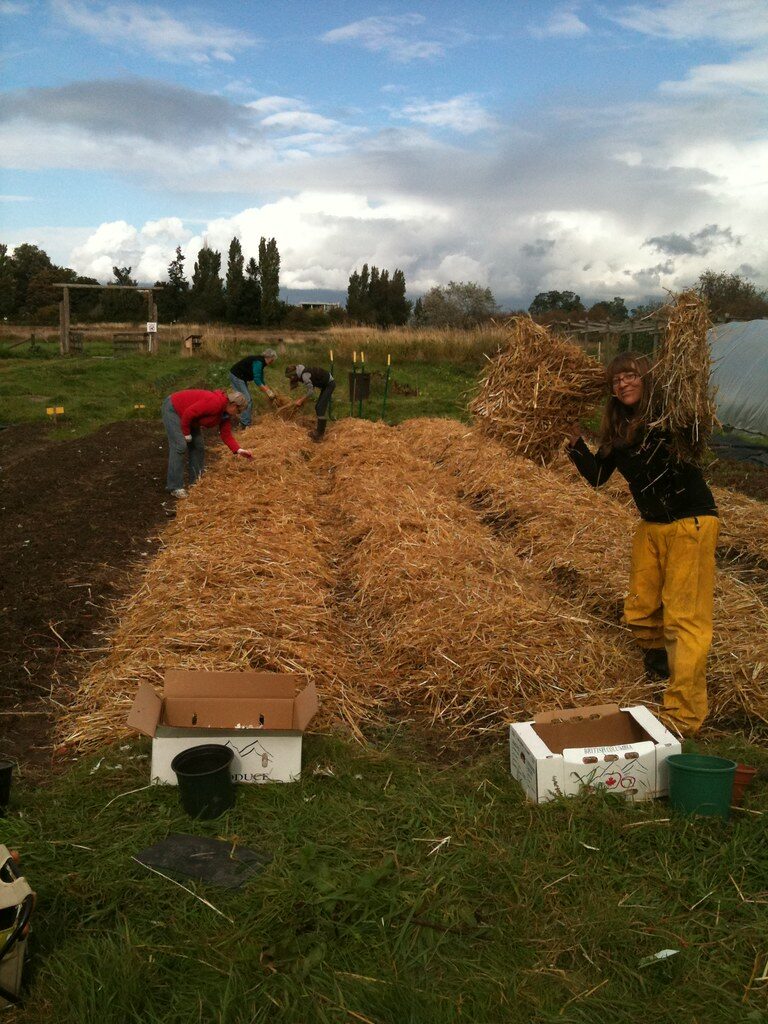
Once the cloves are planted, cover the bed with a 3 to 4-inch layer of mulch such as straw, dried leaves, or shredded bark. Mulching helps insulate the soil during winter, protects against extreme temperature swings, and conserves moisture. It also suppresses weed growth, which is important since garlic dislikes competition. The mulch remains in place through winter and can be adjusted in spring to let shoots emerge easily. This simple step makes a big difference, keeping garlic protected when it is most vulnerable. A well-mulched garlic bed almost always results in stronger plants and bigger bulbs at harvest.
Success Rating
To give you an idea of how these steps influence your outcome, here’s a simple rating scale. If you follow all six steps carefully, your chances of producing healthy, flavorful bulbs are excellent. Missing one step reduces the odds slightly, but you’ll still likely see a fair harvest. Neglecting multiple steps, however, may result in weak growth and small bulbs. If you plant garlic at the wrong time, fail to mulch, or use poor soil, the rating falls drastically. All six steps done well: 9–10 out of 10. One step missed or rushed: 7–8 out of 10. Two or more skipped steps: 4–6 out of 10. Planted without care: 1–3 out of 10.
Comments